Easily import your finances from Quicken® for Mac 2015 & later into SEE Finance by exporting your Quicken® data to a QMTF file and then import that QMTF file into SEE Finance. The whole process can be completed in just a few steps and shouldn't take much time at all. Follow the information below to learn more about how to make the switch.
Export from Quicken® for Mac 2015 & later:
You can export your data from Quicken® for Mac 2015 & later to a QMTF file using the steps below:
- Open Quicken® for Mac and open the file with the data your want to export.
- In the File menu, select "Export" → "Quicken Mac 2007 Transfer File (QMTF)...".
- Set the date range for the export to include all possible transactions. Then click "Next".
- Set the name and location for the export.
- Then click "Save" to export your data to a QMTF file.
- Quit Quicken® for Mac as desired.
![]() Note:
The exact steps might vary depending on the version of Quicken® for Mac you are currently using.
Check with their support for any issues exporting a QMTF file.
Note:
The exact steps might vary depending on the version of Quicken® for Mac you are currently using.
Check with their support for any issues exporting a QMTF file.
![]() Note:
Investment accounts are not exported from Quicken® for Mac 2015 & later and those will need to be re-created in SEE Finance.
This is a limitation of Quicken® for Mac.
Note:
Investment accounts are not exported from Quicken® for Mac 2015 & later and those will need to be re-created in SEE Finance.
This is a limitation of Quicken® for Mac.
![]() Note:
Tags, aka Classes, are not exported from Quicken® for Mac 2015 & later.
This is a limitation of Quicken® for Mac.
Note:
Tags, aka Classes, are not exported from Quicken® for Mac 2015 & later.
This is a limitation of Quicken® for Mac.
Import into SEE Finance 2:
With your Quicken® data exported to a QMTF file, you can create a new file in SEE Finance and set it up the contents of the QMTF file. It is also an option to import accounts from the QMTF file into an existing file for SEE Finance 2.
- Install SEE Finance 2 if you have not done so already.
- Open SEE Finance 2. When you first open the program, after any license and registration prompts, you will be shown the "Welcome to SEE Finance" window which is the first step in creating a file. At any time you can select "New File" from the program's File menu to begin creating a new file. Select to "Get Started".
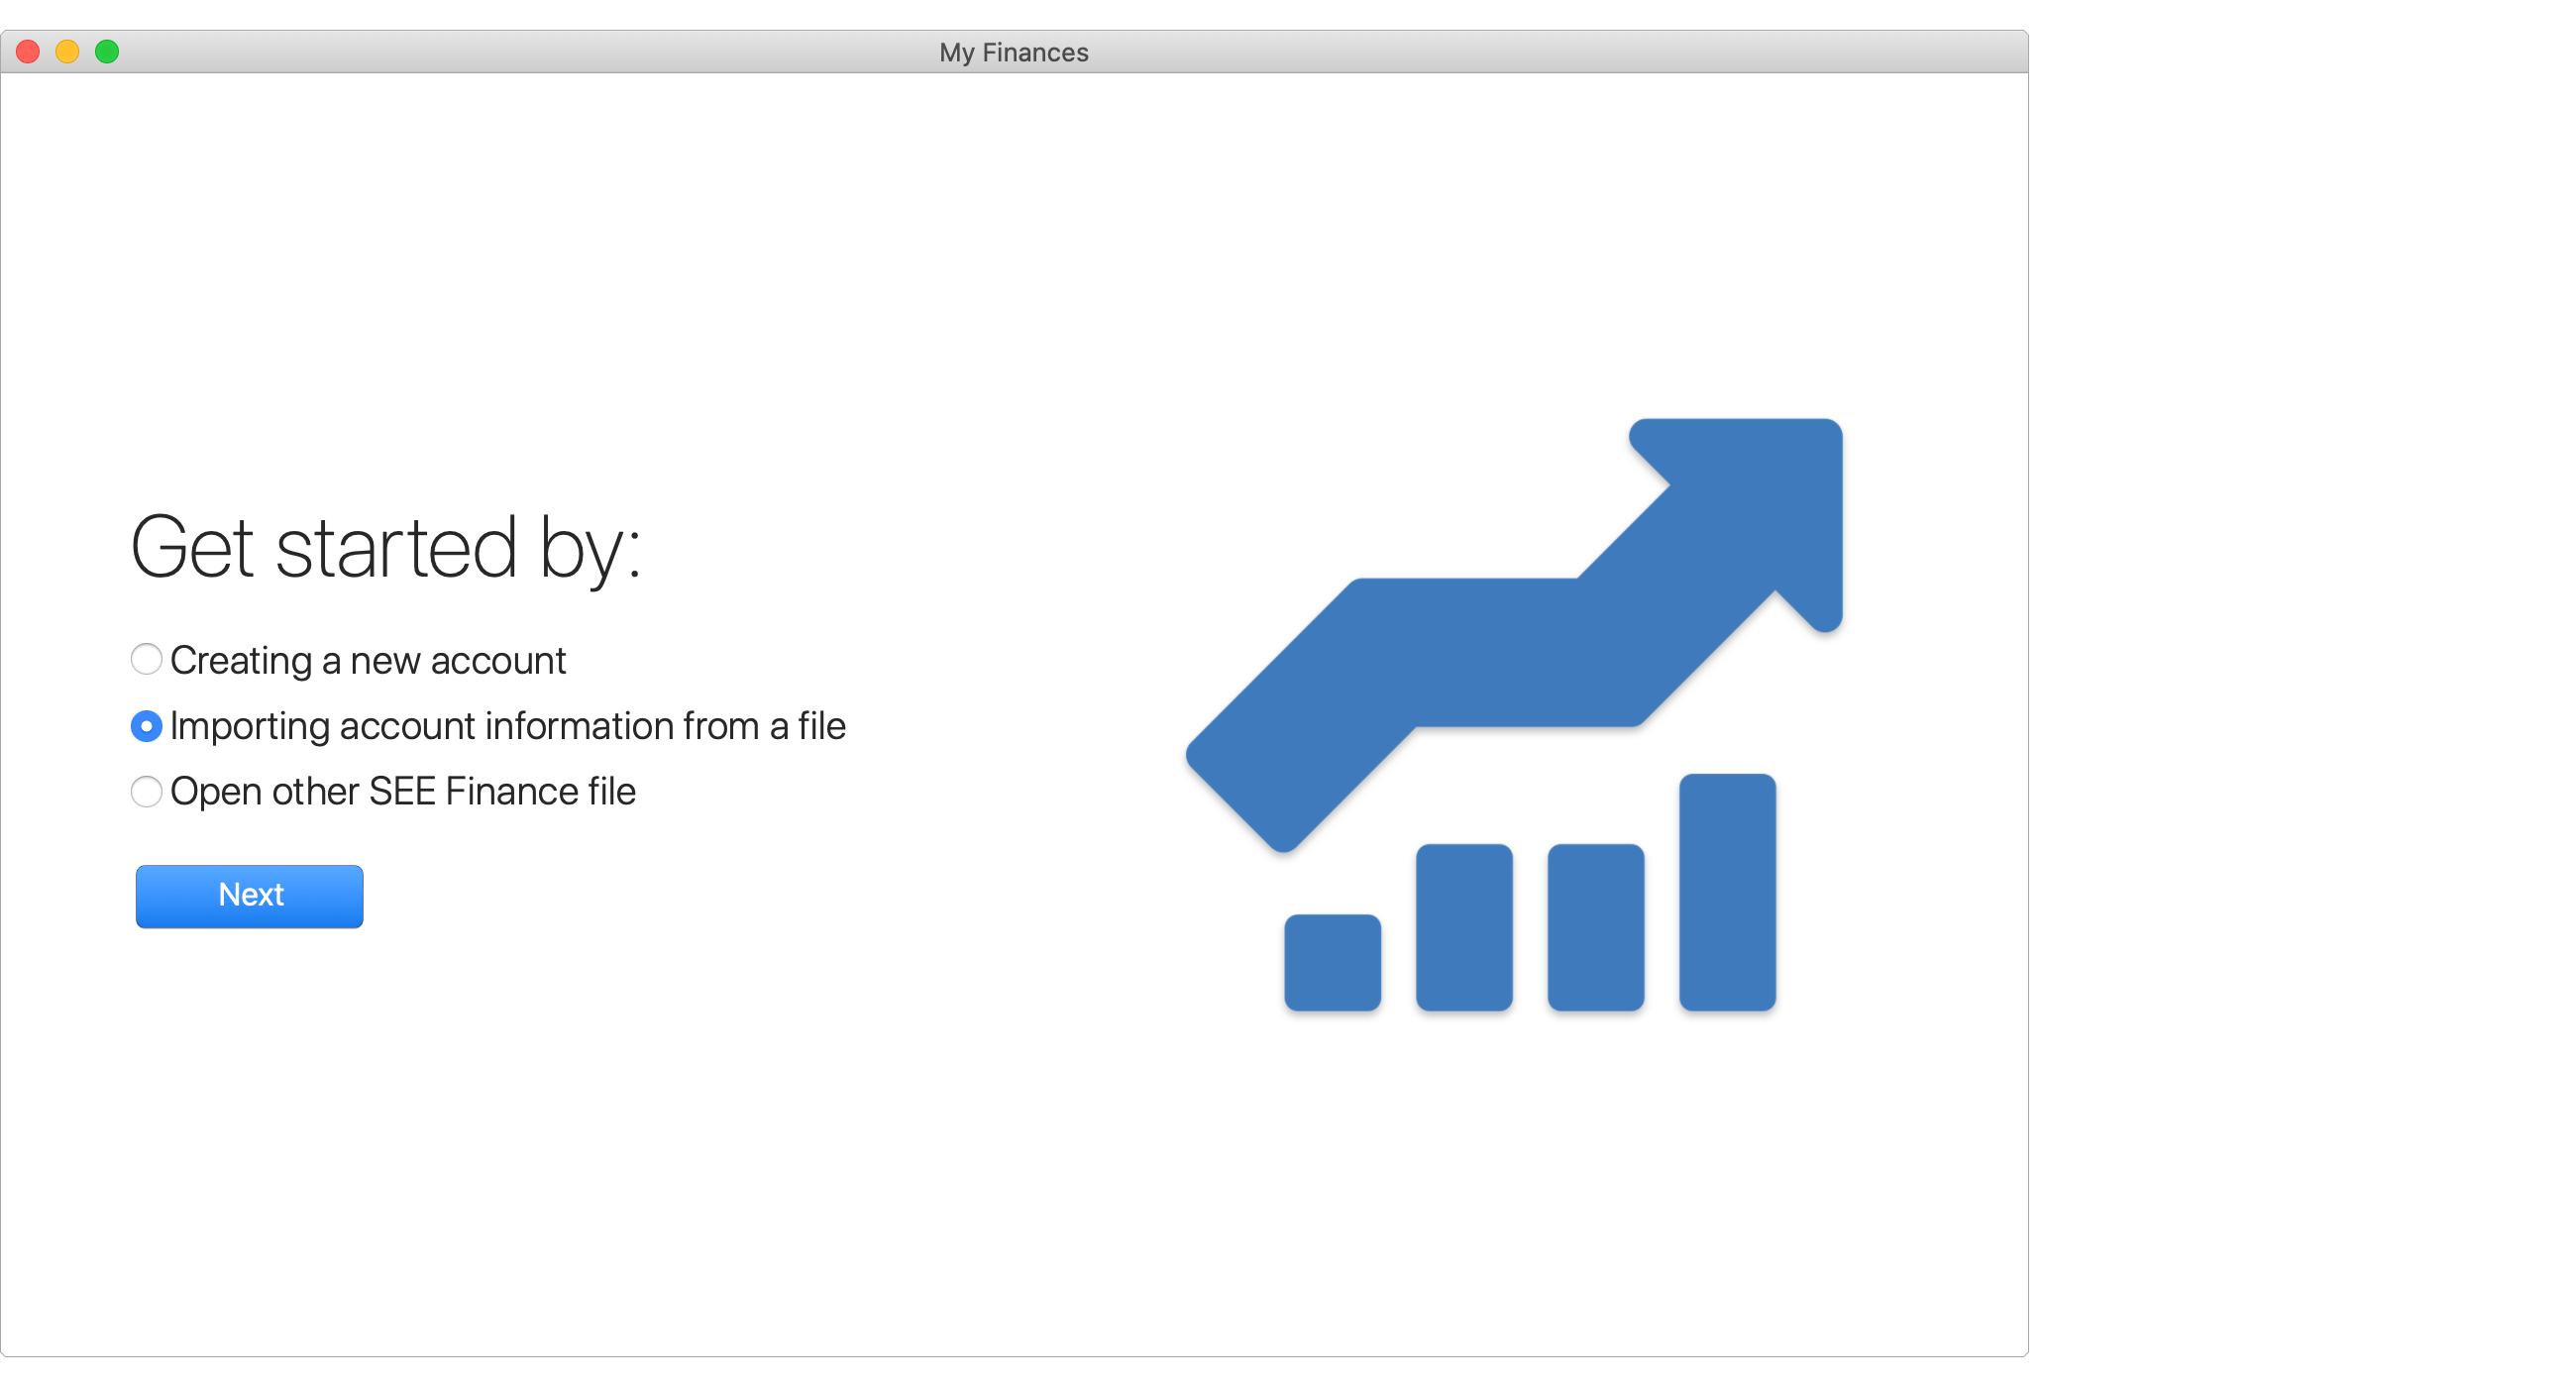
- Select the option to get started by "Importing account information from a file". Then click "Next".
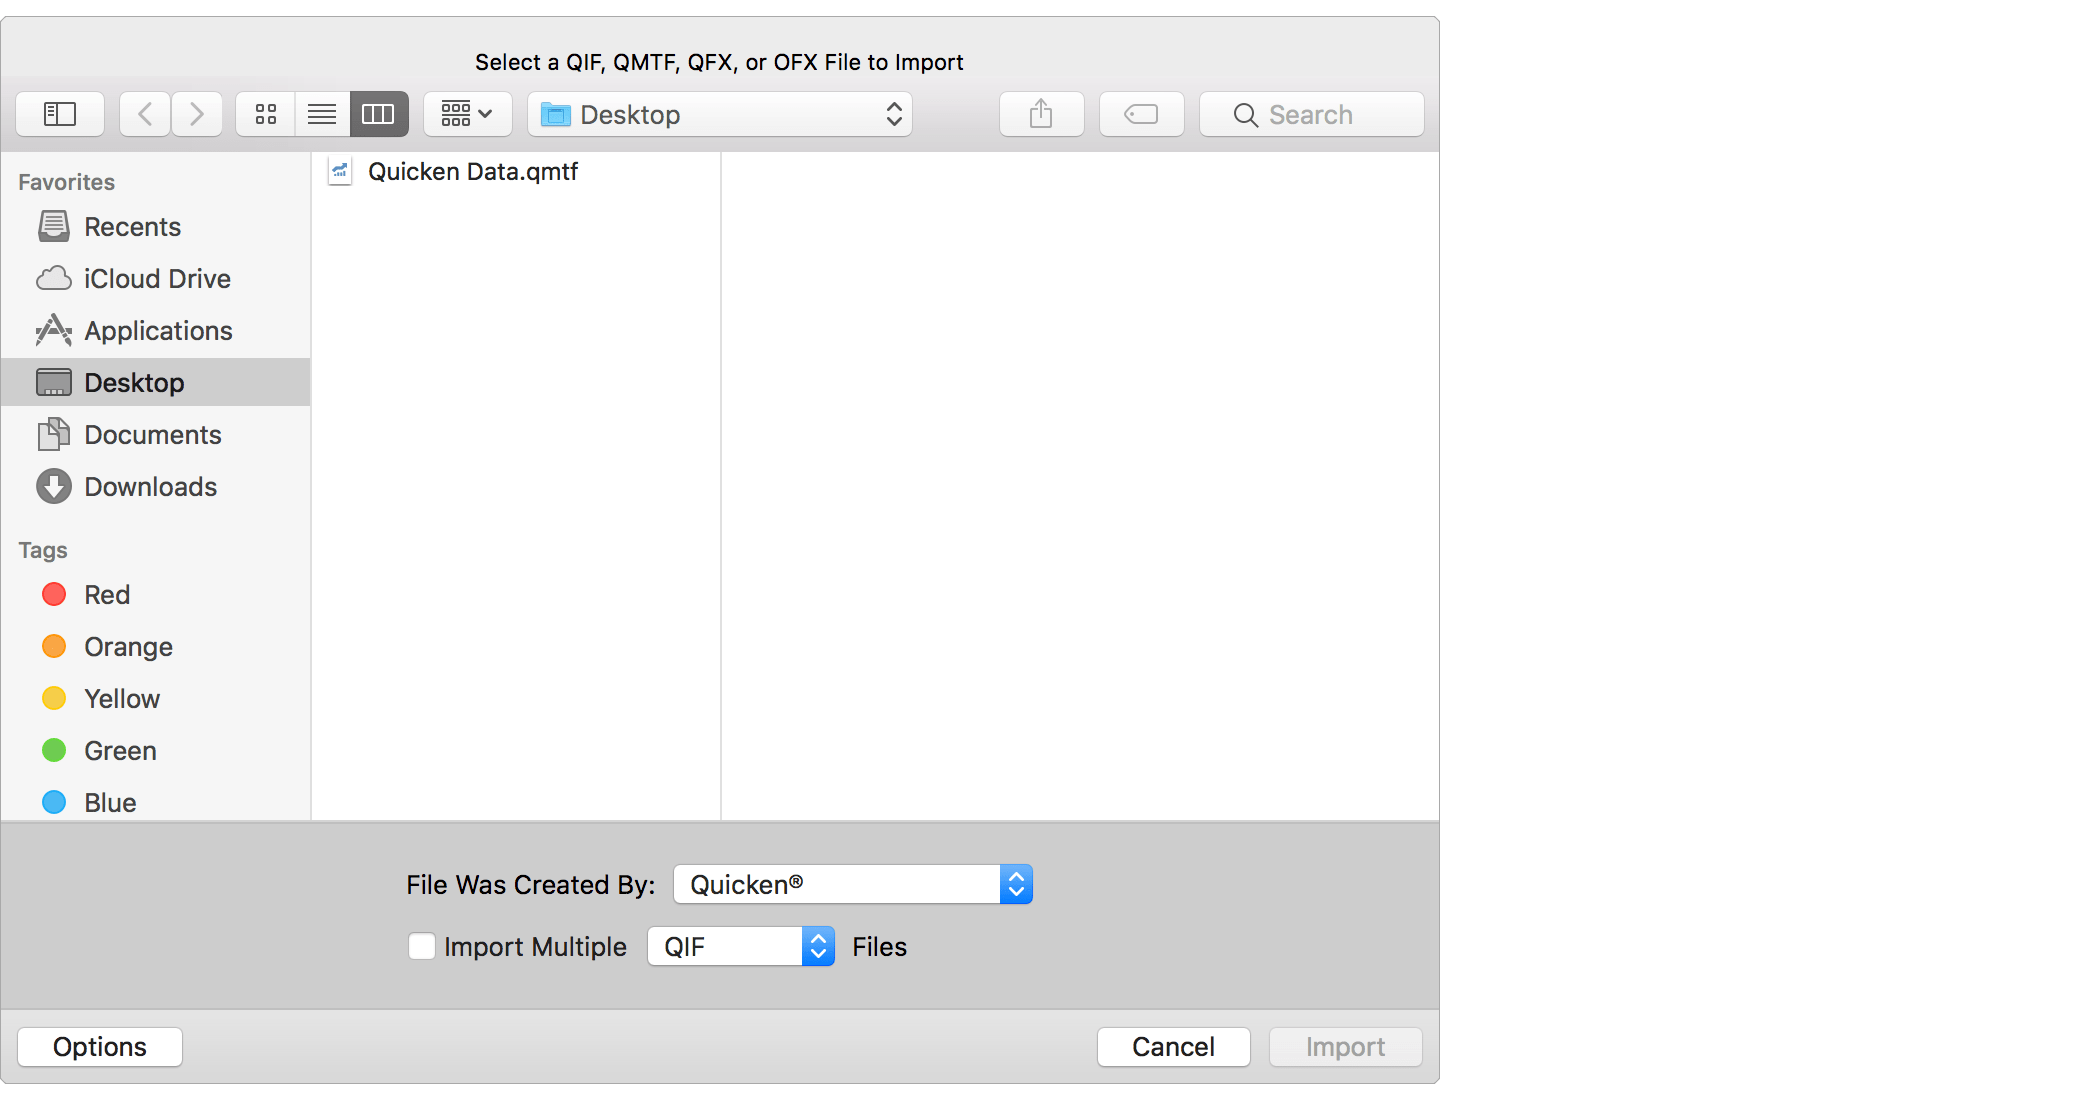
- Use the open file panel to select the QMTF file you exported from Quicken®. On the bottom of the open file panel, set the "File Was Created By" option to "Quicken®". Then click "Import".
![]() Note:
Make sure to set the "File Was Created By" option to "Quicken®".
Doing so will have the program perform additional verification of the data and check for known issues in the exports from Quicken®.
Note:
Make sure to set the "File Was Created By" option to "Quicken®".
Doing so will have the program perform additional verification of the data and check for known issues in the exports from Quicken®.
- Review the accounts and the transactions found in the QMTF file.

- Check and adjust the account name, account type and currency for each account to import.
- Uncheck the "Import" checkbox for any individual account(s) or transactions(s) you do not want to import.
- Select the "Date Format" that most closely resembles the dates shown for transactions in the file.
- Check whether or not the "Number" column represents check numbers for transactions in the file.
- Check if you'd like all transactions to be marked as reconciled.
- Then click "Import" to import the selected accounts.
![]() Note:
Be sure to select the proper date format matching the dates shown in the file.
Select the "MM-DD-YY" option for dates such as "1/31/18" and select the "MM-DD-YYYY" option for dates such as "1/31/2018".
The "-" in date format options can take the place of various kinds of separators including slashes and spaces.
Note:
Be sure to select the proper date format matching the dates shown in the file.
Select the "MM-DD-YY" option for dates such as "1/31/18" and select the "MM-DD-YYYY" option for dates such as "1/31/2018".
The "-" in date format options can take the place of various kinds of separators including slashes and spaces.
![]() Tip:
Use the space bar to toggle the "Import" checkbox for the selected account or for the selected transaction(s).
Tip:
Use the space bar to toggle the "Import" checkbox for the selected account or for the selected transaction(s).
- After importing your accounts, you will be shown a summary. Click "Finished" to complete setting up the new file.

- Finally, you will be prompted to save your file to the location of your choice. Selecting to save the file to the "SEE Finance" folder within your "iCloud Drive" folder is the recommended location if you'd like to sync your file to all of your Mac and iOS devices. Within the macOS program, the "SEE Finance" folder within your "iCloud Drive" folder will sometimes be listed as the "SEE Finance - iCloud" option.
Review the accounts for accuracy
Review the imported information for accuracy when compared to Quicken®. Our file importing feature is widely regarded as one of the best there is, but it can only as good as the information available in the QMTF file. Although we try to accommodate for as many of the errors in the exports of other programs as we can, many of them simply export information incorrectly or incompletely. If there are any discrepancies, we recommend to check the more complex items such as investment accounts first. Not all programs export security prices to QMTF files and the QMTF file format is limited with regard to tracking investments. If desired, security prices can be set manually to match the exact prices in Quicken® for the comparison between the two programs. If you realize the import didn't include all of your information from Quicken®, such as the date range or accounts to export was not set correctly during the export, then it would be best to start over and redo the export and import it into a new file.
Begin using SEE Finance 2
With you data now imported into SEE Finance 2, keep updating your finances in the program to stay on track and get ahead. After setting up your accounts you can establish account download connections to institutions. Setup scheduled transactions to keep up on your upcoming financial activity. Categorize your transactions to track your cash flow in detail. Create budgets to track your spending and save for the future. You can setup various types of reports to monitor your finances. Plus there's many options that allow you to tailor fit the program just for you to assist you in staying on top of your finances.