Export transactions when needed to QIF or CSV files. For exporting tax information for transactions for use with tax preparation programs and websites you can export a TXF file. Learn how to export transactions to files below.
Export transactions to a QIF file:
- Select "Export" → "To QIF..." from the program's File menu.

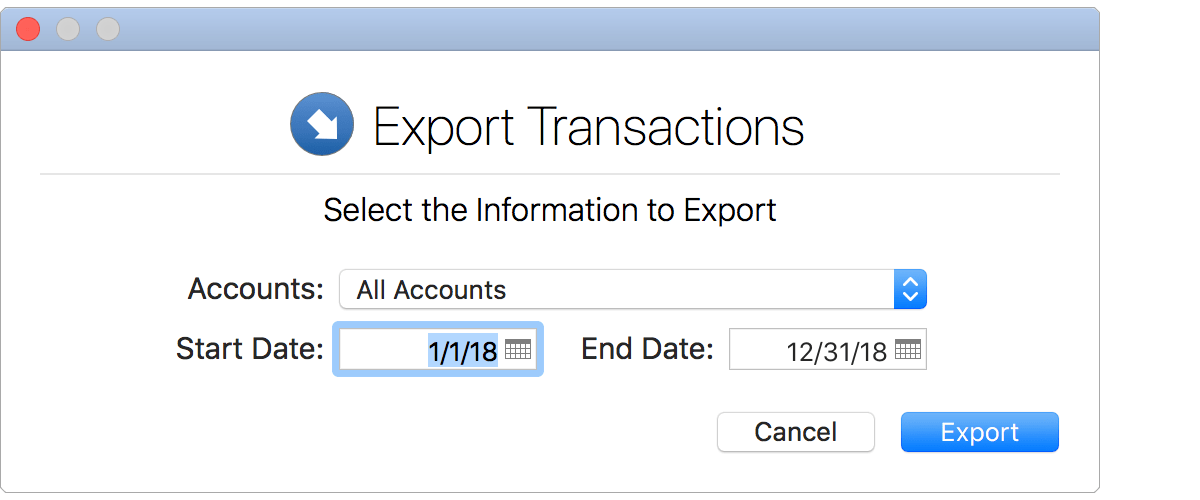
- Select the account(s) for the export.
- Select the date range for the export.
- Click "Export" to continue with the export.
- Use the save panel to set the name and location for exporting the QIF file.
- Click "Export" to export and save the QIF file.
![]() Note:
QIF file exports will include the list of exported accounts, the category list, the tags list, and the transaction lists for the exported accounts.
If an investment account is exported then the security list and the historical prices will also be included in the export.
Note:
QIF file exports will include the list of exported accounts, the category list, the tags list, and the transaction lists for the exported accounts.
If an investment account is exported then the security list and the historical prices will also be included in the export.
Export transactions to a CSV file:
- Select "Export" → "To CSV..." from the program's File menu.
- Select the account(s) for the export.
- Select the date range for the export.
- Click "Export" to continue with the export.
- Use the save panel to set the name and location for exporting the CSV file(s).
- Click "Export" to export and save the QIF file.
![]() Note:
If you selected to export all accounts then a folder will be created containing a CSV file for each account.
Note:
If you selected to export all accounts then a folder will be created containing a CSV file for each account.